Quickstart
This quickstart shows how to use Dyte's Flutter UI Kit SDK to add live video and audio to your Flutter applications.
For getting started quickly, you can use our sample code. You can clone and run a sample application from the Flutter UI Kit Sample App GitHub repository.
Objective
You'll learn how to:
- Install the Dyte SDK
- Configuring Android & iOS permissions
- Initialize the SDK
- Configure a Dyte meeting
- Launch the meeting UI
Before Getting Started
Make sure you've read the Getting Started with Dyte topic and completed the steps in the Integrate Dyte section. You must complete the following steps:
- Create a Dyte Developer Account
- Create a Dyte Meeting
- Add Participant to the meeting
Step 1: Install the SDK
Install the SDK from pub.dev.
flutter pub add dyte_uikit
Step 2: Configure permissions for Android and iOS
Perform the following steps:
Android
Set compileSdkVersion 33 and minSdkVersion 23 inside build.gradle file at the <project root>/android/app/build.gradle file.
  defaultConfig {
        ...

        compileSdkVersion 33
        minSdkVersion 23

        ...
    }
iOS
- Set minimum deployment target for your Flutter app to 13.0 or higher.
platform :ios, '13.0'
- Add the following keys to your
Info.plistfile, located in<project root>/ios/Runner/Info.plist:
/* Attach the permission to use camera & microphone. */

<key>NSCameraUsageDescription</key>
<string>For people to see you during meetings, we need access to your camera.</string>

<key>NSMicrophoneUsageDescription</key>
<string>For people to hear you during meetings, we need access to your microphone.</string>
Step 3: Configure a Dyte meeting
To initiate Dyte Meeting for any participant you just need to pass authToken as an argument. You can get the authToken via the Add Participant API.
After getting the authToken, you need to create the DyteMeetingInfoV2 object as follows:
final meetingInfo = DyteMeetingInfoV2(authToken: '<auth_token>');
Step 4: Initialize the SDK
The DyteUIKit is the main class of the SDK. It is the entry point and the only
class required to initialize Dyte UI Kit SDK. To initialize it we have to pass DyteUIKitInfo object as an argument.
/* Passing the DyteMeetingInfoV2 object `meetingInfo` you created in the Step 3,
*/

final uikitInfo = DyteUIKitInfo(
      meetingInfo,
      // Optional: Pass the DyteDesignTokens object to customize the UI
      designToken: DyteDesignTokens(
        colorToken: DyteColorToken(
          brandColor: Colors.purple,
          backgroundColor: Colors.black,
          textOnBackground: Colors.white,
          textOnBrand: Colors.white,
        ),
      ),
    );

final uiKit = DyteUIKitBuilder.build(uiKitInfo: uikitInfo);
You can learn more about customization of the uikit in the Design System section.
Step 5: Launch the meeting UI
To launch the meeting UI all you need to do is call the loadUI() method of the DyteUIKit object which will return a Widget. You can push this widget as a page to start the flow of prebuilt Flutter UI Kit.
import 'package:dyte_uikit/dyte_uikit.dart';
import 'package:flutter/material.dart';
class DyteMeetingPage extends StatelessWidget {
const DyteMeetingPage({super.key});
Widget build(BuildContext context) {
...
// Push this widget as page in your app
return uiKit.loadUI();
}
}
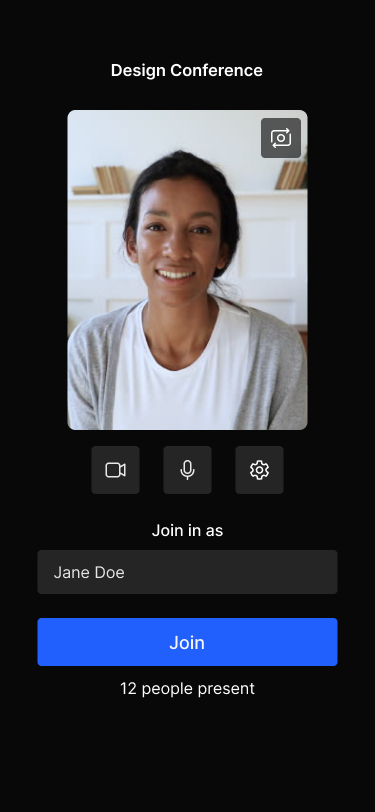
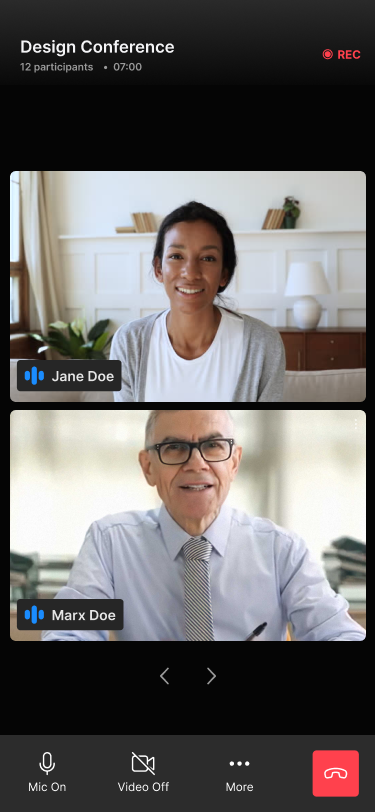
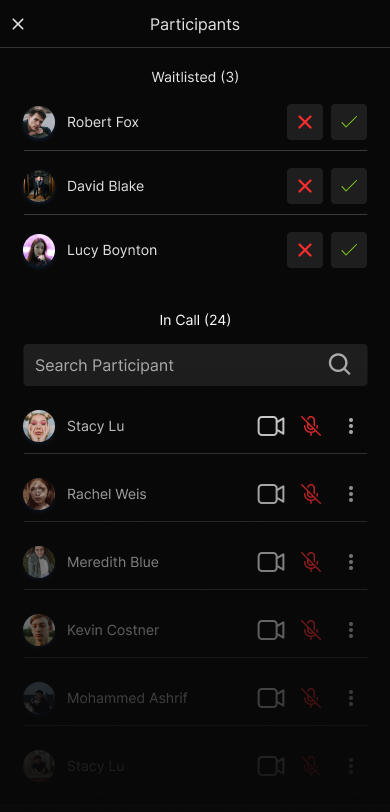
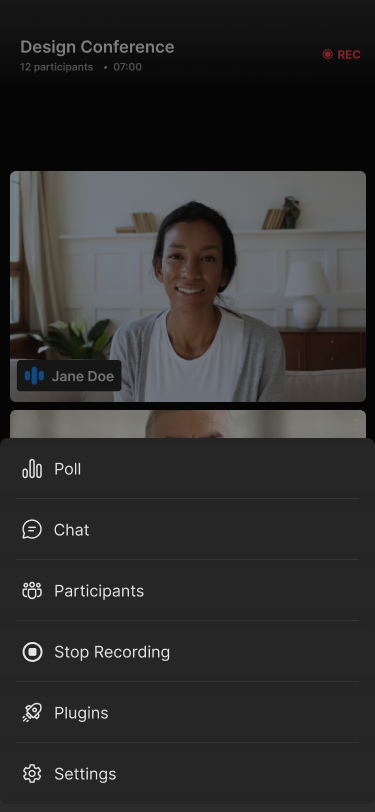
Voila! You're all done. Here is the pictorial representation of all the configuration options passed.